Enabling pre-approvals for an asset pre-authorizes incoming transfer offers to your primary party. Once enabled, any incoming transfer of a pre-approved asset is automatically accepted into your primary party, with no signing required.

Enable a Pre-Approval

  1. Go to the Settings page and navigate to the Pre-Approvals section.
  2. Toggle on pre-approval for the asset of your choosing. Pre-Approvals section of the Settings page with asset toggles
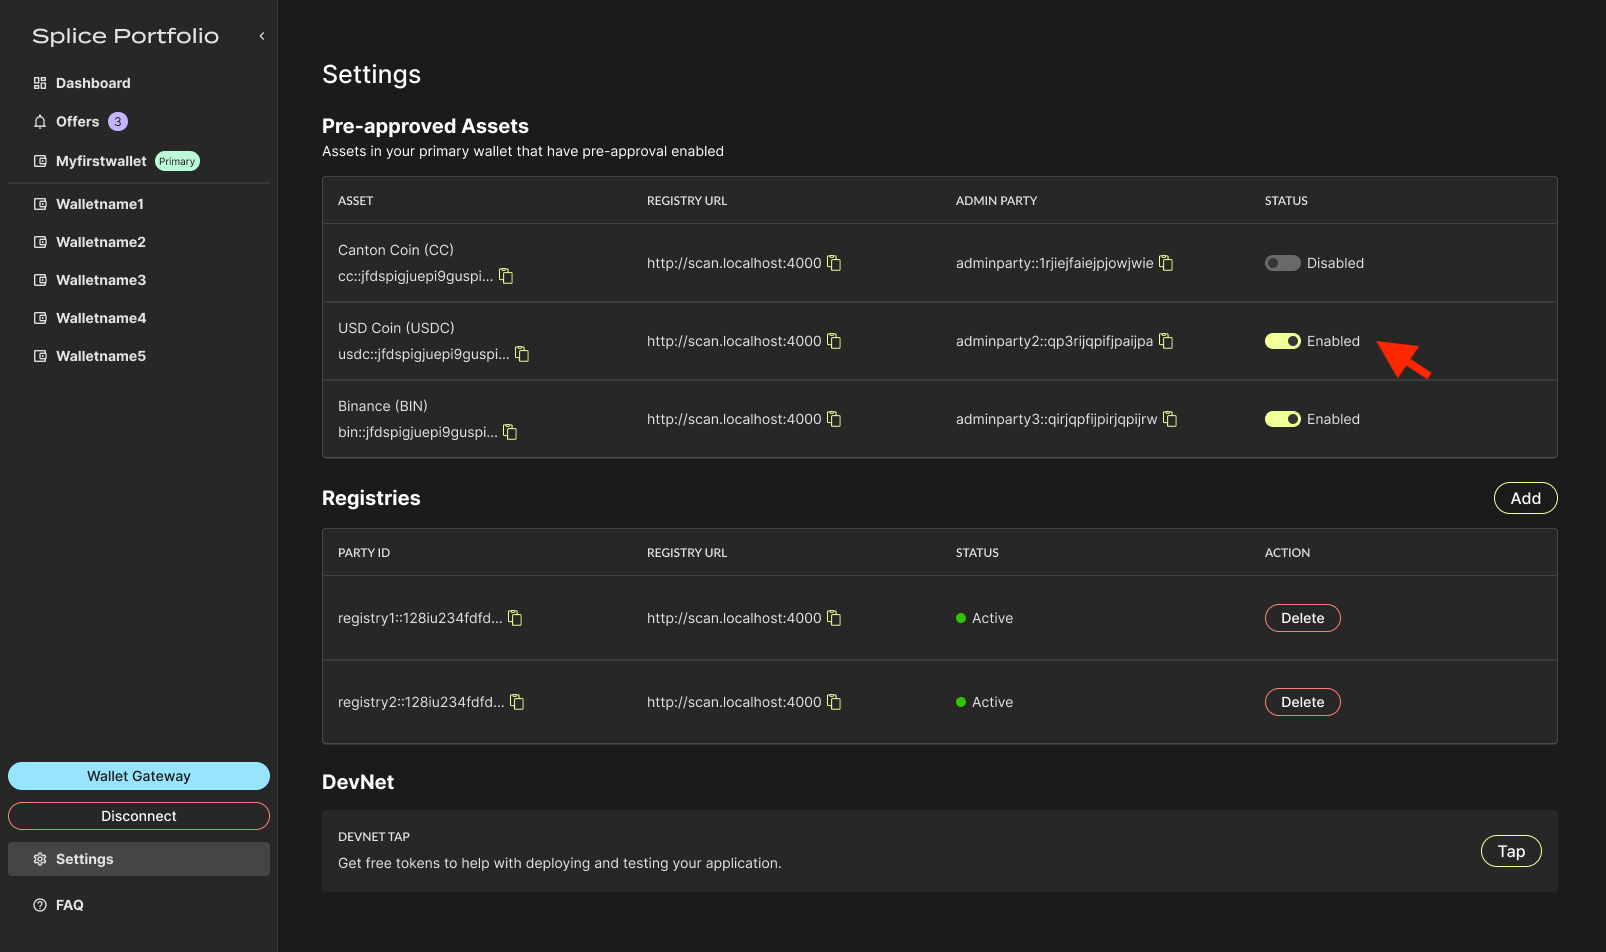
  3. To complete this action, go to your CIP-103 wallet to complete signing.
If the asset you want to enable pre-approval for is not listed in the Pre-Approvals table, you first need to add the registry associated with that asset. Once the registry is added, the asset appears in the table.
Pre-approval contracts only apply to the primary party. See Switch Parties to change which party is primary.

Next Steps

  • DevNet Faucet — Get test tokens to try a pre-approved transfer
  • Transfers — See how pre-approval changes the transfer flow